Save to Pinterest
 The morning I first whipped up this mini matcha smash cake, the spring sunlight poured through my kitchen window and painted everything golden. My playlist was on shuffle and, mid-measure, I realized I was humming along, flour dust trailing from my fingertips across the countertop. The anticipation of building something so colorful and playful for brunch made each step surprisingly invigorating. There was no occasion, just the joyful thought of creating a celebration out of an ordinary Saturday. If you’ve ever wanted to serve a treat that’s equal parts whimsical and delicious, this brunch-sized cake brings everyone together for a smile.
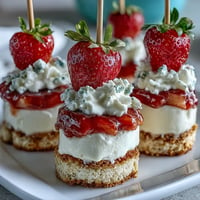
Last time I made this cake, two friends arrived early for brunch, lured in by the smell of freshly baked matcha. I handed one a tiny offset spatula and we took turns frosting the layers, sneaking tastes of the silky vanilla swirl as we went. Inevitably, someone dropped a berry, and it bounced comically across the table before we crowned the cake with sprinkles. Laughter mixed with the clinking of coffee mugs made it feel like a party. I never knew a minisized cake could spark so much spontaneous joy.
Ingredients
- All-purpose flour: Sifting the flour ensures a tender crumb—don’t skip this for a truly fluffy cake.
- Granulated sugar: Sweetens the batter just enough without overpowering the delicate matcha notes.
- Baking powder & baking soda: Combining both gives the cake a gentle loft and prevents it from turning dense.
- Salt: Just a pinch sharpens the flavors and balances sweetness.
- Matcha powder (culinary grade): Quality matters here—brighter green means fresher flavor and a beautiful cake.
- Whole milk (room temperature): Blends more smoothly into the batter and keeps the cake moist.
- Large egg (room temperature): Beating it in evenly helps with rise and structure.
- Vegetable oil: Yields soft, tender layers that stay delicious, even after chilling.
- Vanilla extract: Rounds out both the cake and frosting—don’t skip for depth.
- Unsalted butter (softened): Makes for an ultra-creamy frosting—room temp is key for smooth spreading.
- Powdered sugar (sifted): A quick sift saves you from lumps in your frosting.
- Milk (for frosting): Just enough to reach that dreamy, spreadable consistency.
- Sprinkles or fresh berries: The final flourish—choose colors and fruits that make you smile.
Tired of Takeout? 🥡
Get 10 meals you can make faster than delivery arrives. Seriously.
One email. No spam. Unsubscribe anytime.
Instructions
- Preheat and Prep:
- Set your oven to 350°F (175°C) and line both 4-inch cake pans—the parchment helps cakes release easily later.
- Sift the Dry Mix:
- Gently sift flour, sugar, baking powder, baking soda, salt, and matcha into a bowl, enjoying the swirl of green as matcha blends through.
- Blend the Wet Ingredients:
- Whisk together milk, egg, oil, and vanilla in a separate bowl—no need to dirty the stand mixer here, a simple whisk will do.
- Bring It All Together:
- Pour wet into dry, folding slowly until just combined—the batter will show a pale green and should be silky, not overmixed.
- Pan and Bake:
- Divide batter evenly between pans and smooth the tops; cakes will bake in 15–20 minutes, done when a toothpick comes out clean.
- Cool It Down:
- Allow cakes to cool 5 minutes before unmolding—waiting makes the difference between clean edges and crumbled sides.
- Make the Frosting:
- Beat the softened butter alone first until creamy, then add powdered sugar a bit at a time, followed by milk, vanilla, and salt for a cloudlike finish.
- Assemble the Cake:
- Spread frosting between layers, stack, and coat the outside with a light layer; decorate with sprinkles or berries before serving.
 Save to Pinterest
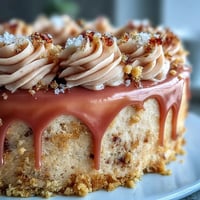
 There was a brunch where this cake transformed into everyone’s centerpiece “birthday,” even though no one had a real claim to the occasion. Someone declared an “unbirthday” toast as we linked spoons and dug in together, the cake crumbling perfectly in the middle. The laughter echoing around the table felt brighter, all sparked by those messy, joyful slices. It was a small, delicious rebellion against waiting for a “real” reason to celebrate. That’s what this cake does—turns any meal into a gentle riot of fun.
Choosing the Best Matcha
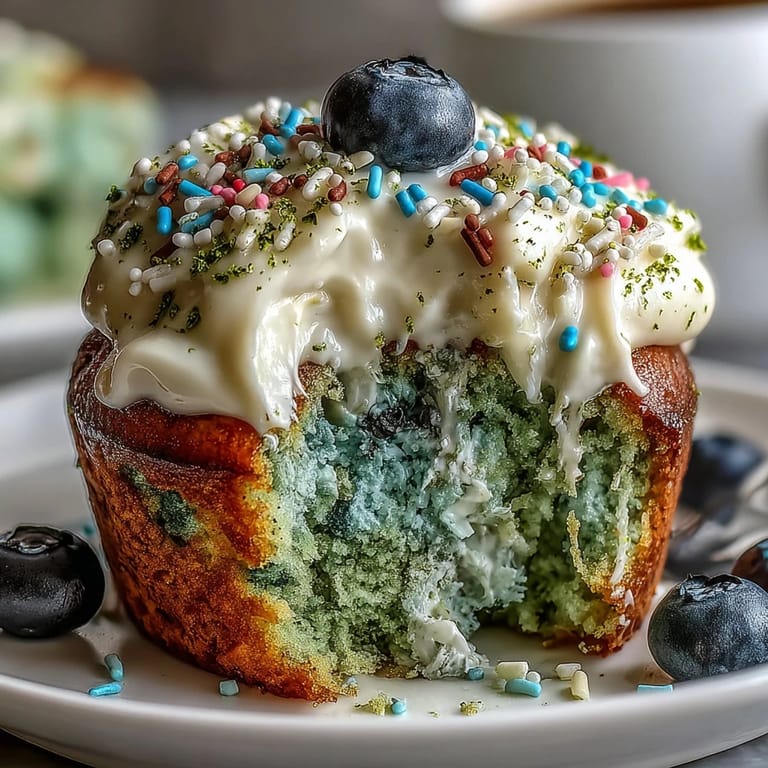
I quickly learned that not all matcha is created equal—culinary grade is perfect for baking since it offers vibrant color and clean flavor without breaking the bank. If you want a cake that looks as good as it tastes, check your matcha for a verdant green and avoid anything dull or yellowish. Even a half-teaspoon more can pump up the hue for special occasions. When you open the tin, the scent should be sweet and grassy, never harsh. Freshness makes all the difference when the matcha is front and center.
Frosting Like a Pro
The first time I made this cake, I tried spreading the frosting while the layers were still a little warm, and instantly regretted my impatience—the icing melted into a slide. Let the cakes cool completely, and use an offset spatula for those smooth sides, even if it feels a bit fussy. If the frosting seems stiff, a tiny splash of milk loosens it just enough for silkiness. Don’t be afraid to go rustic—sometimes a swooshed, imperfect finish is the prettiest. The cake is so charming, nobody notices a little frost here or there.
Making It Brunch-Ready
Because this mini cake is so quick to assemble, it’s become my go-to whenever I need a little brunch sparkle without fuss. You can halve the frosting for a lighter bite, or double the recipe to make a playful layer tower for more guests. Pairing it with a matcha latte on the side makes everything feel extra (in the best way). Use fresh berries in season for the ultimate garnish—they bring brightness to every slice.
- Decorate just before serving for the freshest look.
- Use parchment circles for the pans so cakes never stick.
- This recipe works great as cupcakes, too.
 Save to Pinterest
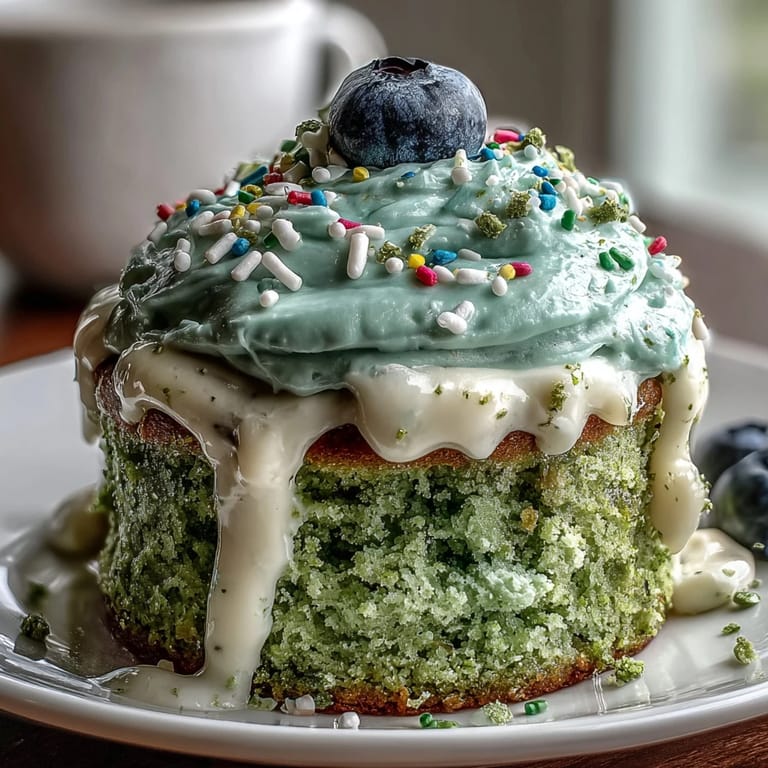
 However and whenever you serve it, this mini matcha cake brings a mood of celebration to any brunch table. I hope it sparks as many spontaneous toasts and smiles for you as it has in my kitchen.
Recipe FAQs
- → Can I make this dairy-free?
Yes. Use plant-based milk (almond, oat, or soy) and a vegan butter in the frosting. Keep measurements the same; chilling briefly can help the vegan butter set for easier spreading.
- → How do I get a stronger matcha flavor?
Use a higher-quality culinary matcha and increase the powder by 1–2 teaspoons to taste. Sift the matcha with the dry ingredients to avoid lumps and avoid overmixing so the green-tea notes stay bright.
- → How can I prevent a crumbly frosting finish?
Beat softened butter until creamy before adding sifted powdered sugar gradually. Add milk a little at a time to reach spreadable consistency, then chill briefly and smooth with an offset spatula for a clean finish.
- → Can I scale this up to a larger cake?
Yes. Increase ingredient quantities proportionally and use appropriate pans. Bake times will lengthen—check with a toothpick and adjust in 5–minute increments. Two 6-inch pans or one 8-inch pan are common alternatives.
- → What’s the best way to assemble for a smash-style finish?
Level the layers, apply a thin crumb coat, chill to set, then add a final thin layer of frosting. Leave the top slightly loose if you plan to smash—this keeps the surprise while keeping structure for serving slices.
- → How should I store leftovers and can I make parts ahead?
Store covered in the fridge for up to 2 days; bring to room temperature before serving for softer texture. You can bake layers a day ahead and freeze between parchment layers, then defrost fully before frosting.