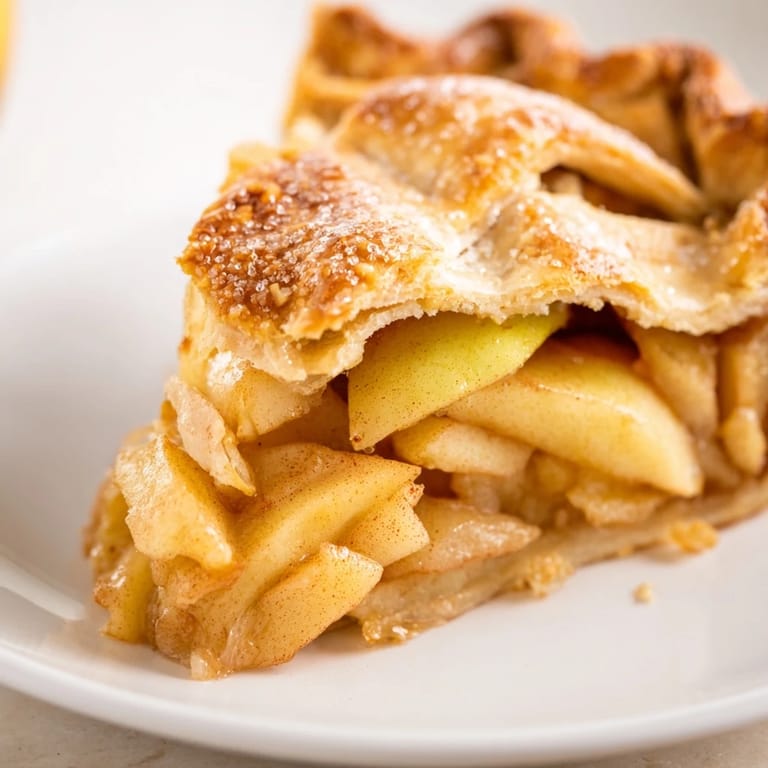
 Save to Pinterest
 My grandmother's kitchen smelled like cinnamon and butter the moment she'd start rolling out pie dough on a Sunday afternoon, and somehow I always knew apple pie was coming before she'd even say it. Years later, I realized what made her version so special wasn't just technique—it was the way she'd let the apples speak for themselves with a careful balance of spice and sugar, and the pure golden flakiness of a crust she'd perfected over decades. When I finally made my own, I understood why people return to this dessert again and again; it's not complicated, but it demands respect and patience. There's something deeply satisfying about layering spiced fruit between two blankets of butter-laden pastry, knowing that the oven will work its magic while you sip coffee and wait.
I made this pie for the first time when I was trying to impress someone who claimed they could taste quality butter from across a room, and honestly, I was terrified. My hands were shaking as I folded the crust into the dish, worried every press of my fingertips would ruin months of cake-only reputation. But when that pie came out of the oven and the crust was deep golden with filling bubbling at the edges, they took one bite and went completely quiet—the best kind of quiet. That moment taught me that pie isn't about perfection; it's about showing up with good ingredients and genuine care.
Ingredients
- All-purpose flour: The foundation of both crust and filling texture; measure by weight if possible because scooping compacts it.
- Cold unsalted butter: This is non-negotiable for flakiness; if it's warm, you'll get a tough crust instead of those beautiful layers.
- Ice water: Keep it genuinely cold and add it gradually; too much makes the crust tough, too little won't hold it together.
- Granny Smith and Honeycrisp apples: The tartness of Granny Smith prevents the filling from tasting cloying, while Honeycrisp adds natural sweetness and body.
- Cinnamon, nutmeg, and salt: These spices bloom in the filling as it bakes; they're what separate homemade pie from the grocery store version.
- Lemon juice: A small splash prevents oxidation and brightens the apple flavor without tasting citrusy.
- Egg wash: The beaten egg and milk create that gorgeous mahogany finish that catches the light.
Tired of Takeout? 🥡
Get 10 meals you can make faster than delivery arrives. Seriously.
One email. No spam. Unsubscribe anytime.
Instructions
- Make the pie dough:
- Whisk flour, salt, and sugar together, then work in cold butter cubes with your fingertips or a pastry blender until it looks like breadcrumbs with some pea-sized pieces still visible. Gradually add ice water until the dough just comes together—you want it shaggy and barely hydrated, not smooth or sticky. Divide in half, shape into disks, wrap tightly, and refrigerate for at least an hour; this resting time allows the gluten to relax and makes rolling easier.
- Prepare your apples:
- Peel and slice your apples about 1/4-inch thick, then toss them with both sugars, spices, salt, flour, and lemon juice in a large bowl. The flour acts as a thickener for the filling, and letting this mixture sit for 10 minutes lets the apples release their first bit of juice.
- Build the pie:
- Preheat to 400°F. On a lightly floured surface, roll one dough disk into a circle large enough to line your 9-inch pie dish with a slight overhang. Gently fit it in, being careful not to stretch it. Pour in the apple mixture, mounding it slightly in the center, then dot the surface with small pieces of butter.
- Top and seal:
- Roll out your second disk and place it over the filling, then trim excess dough, seal the edges by pressing with your fingertips or a fork, and cut a few small slits in the top to let steam escape. Whisk together your egg and milk, brush it over the top crust, and sprinkle with coarse sugar if you want extra textural contrast.
- Bake until golden:
- Place the pie on the lower oven rack and bake for 45–55 minutes until the crust is deep golden and filling is visibly bubbling at the vents; if the edges brown too quickly, loosely tent with foil. Let it cool on a rack for at least 2 hours before slicing so the filling can set properly.
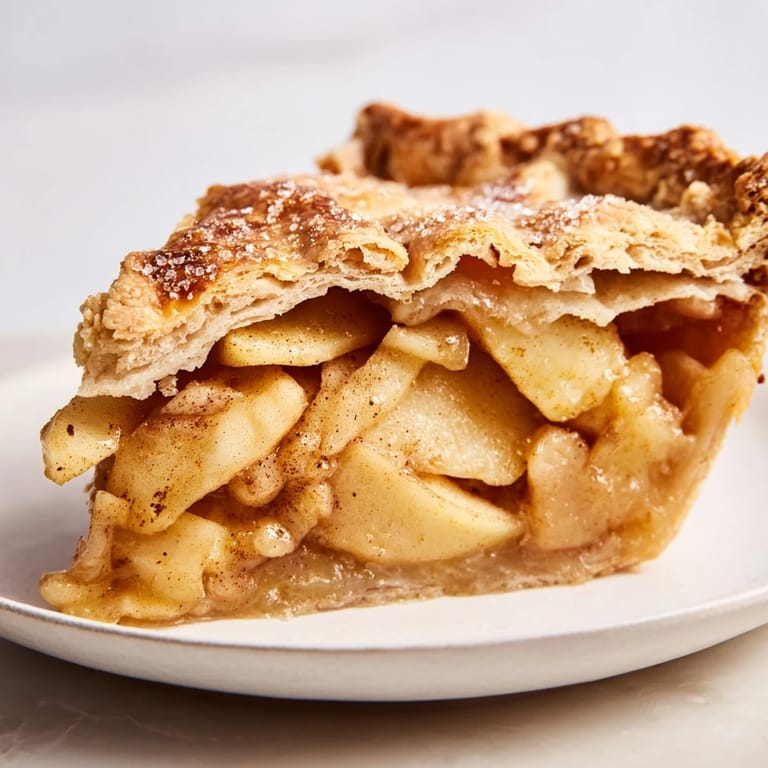 Save to Pinterest
 There's a moment when you pull a pie from the oven and the whole house fills with cinnamon and butter and caramelized apple, and suddenly everyone emerges from their rooms asking what you're making. It's funny how a dessert can transform an ordinary Tuesday into something worth gathering for, how the smell alone promises comfort.
Choosing Your Apples
The mix of Granny Smith and Honeycrisp matters more than you'd think; Granny Smiths hold their shape when baked and bring tartness, while Honeycrisp add natural sweetness and a tender texture. If you can't find one or the other, substitute with Pink Lady or Braeburn for tartness, or Gala or Fuji for sweetness. The key is avoiding all of one type because the filling will either be aggressively tart or one-note sweet, neither of which is interesting.
Crust Secrets That Actually Work
The reason some pie crusts are tender and flaky while others are tough and dense comes down to three things: cold butter, minimal gluten development, and not overworking the dough. Your fingers are the ideal tool because they warm the butter just enough to coat the flour but not enough to fully incorporate it; this creates those precious layers when it bakes. If you find yourself stressed about whether your dough is mixed enough, remember that slightly shaggy is always better than overmixed and smooth.
Making It Your Own
Once you understand the foundation, this pie welcomes experimentation without flinching. A small handful of raisins plumped in warm water adds subtle sweetness and texture, while a pinch of ground ginger brings an unexpected warmth that plays beautifully with cinnamon. Some bakers add a tablespoon of vanilla extract or a whisper of almond extract to deepen the filling, while others create a lattice crust by cutting the top dough into strips for visual drama. The structure stays solid no matter what minor variations you introduce, which is precisely why this pie has endured for generations.
- A lattice crust looks restaurant-quality but takes only a few extra minutes if you plan ahead.
- Pairs beautifully alongside a slightly sweet Riesling or a simple cup of black coffee.
- Leftover pie tastes even better for breakfast with cold milk or a spoonful of whipped cream.
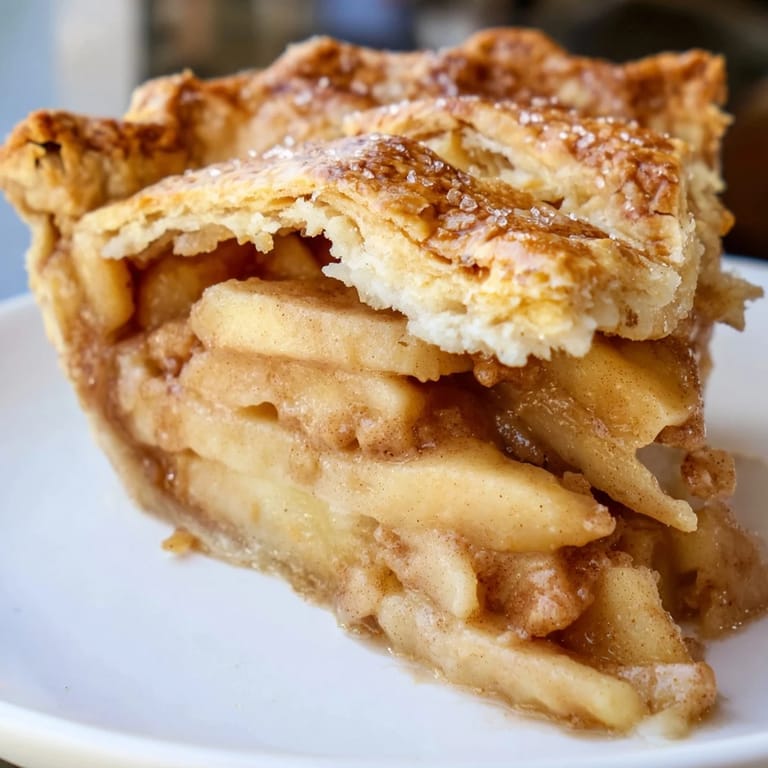 Save to Pinterest
 Apple pie is one of those rare recipes that tastes like home the moment you bite into it, whether or not you grew up eating it. Make it, share it, and let it become part of your own kitchen story.
Recipe FAQs
- → What type of apples work best?
A mix of Granny Smith and Honeycrisp apples offers a perfect balance of tartness and sweetness, giving the filling great texture and flavor.
- → How do I get a flaky crust?
Use cold, cubed unsalted butter and minimal liquid to gently combine the dough, keeping it cold throughout preparation to achieve a flaky texture.
- → Can I make the crust ahead of time?
Yes, prepare the dough and refrigerate it for at least an hour before rolling it out. This helps relax the gluten and maintain flakiness.
- → Why brush the crust with egg wash?
An egg and milk wash creates a shiny, golden-brown finish and helps any sugar sprinkled on top adhere during baking.
- → How long should the pie cool?
Allow the pie to cool on a wire rack for at least two hours to let the filling set properly before slicing.
- → Can I add other flavors to the filling?
Yes, adding a pinch of ground ginger or a handful of raisins can enhance the depth of flavor in the filling.