 Save to Pinterest
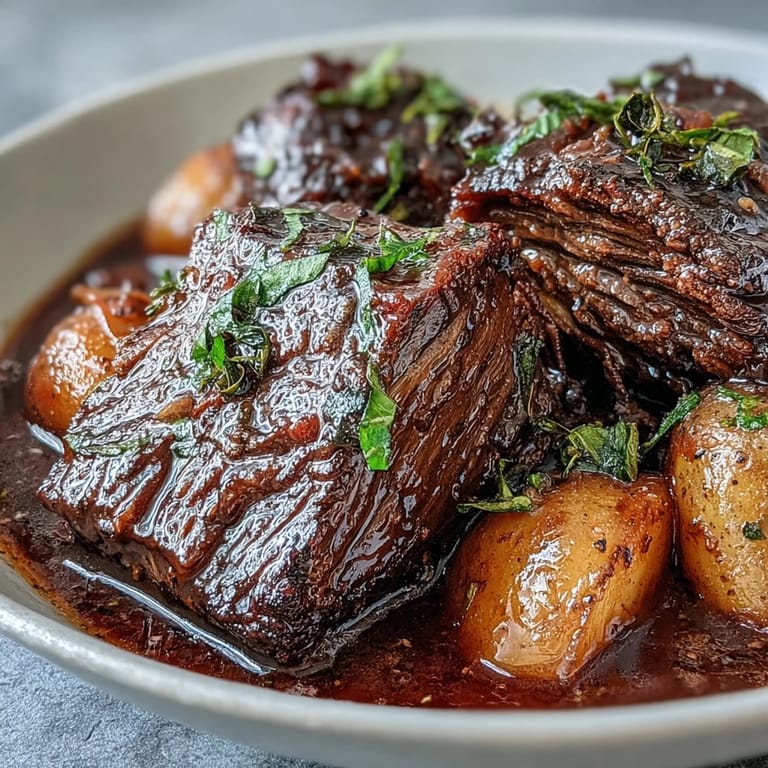
 There's something about the smell of beef browning in a hot pot that stops me mid-afternoon, pulls me into the kitchen whether I meant to be there or not. My dad used to make pot roast on Sunday evenings, filling the whole house with that wine-and-herb fog by the time we sat down to eat. I've made it a hundred times since, and it never feels routine—that moment when you pour in the wine and scrape up all those caramelized bits still feels like small kitchen magic.
I made this for my sister's first dinner party in her new place, and I remember her peeking into the oven halfway through, worried the meat wasn't cooking fast enough. By the time we served it, she'd stopped checking entirely—the aroma had already convinced everyone it would be perfect. That's when I knew this recipe was something special: it builds anticipation without you having to do much of anything.
Ingredients
- Beef chuck roast (3–3.5 lb): This cut has enough marbling and connective tissue that it becomes silky when braised low and slow; I always ask the butcher to show me the marbling pattern.
- Kosher salt and black pepper: Season generously before searing—this is where your seasoning foundation lives, so don't be shy.
- All-purpose flour: A light coating helps develop that brown crust during searing; use gluten-free flour if needed without changing the technique.
- Olive oil and butter: The combination gives you richness from the butter and a higher smoke point from the oil, keeping your sear perfect.
- Yellow onion, garlic, carrots, celery: These aren't just vegetables—they're building blocks for the braising liquid, infusing it with sweetness and depth.
- Baby potatoes: I love these because they hold their shape and don't turn to mush, giving you distinct texture in every bite.
- Tomato paste: A tablespoon or two deepens the color and adds umami without making it taste tomatoey.
- Dry red wine: It mellows into the broth, adding complexity; beef broth alone works if you skip alcohol, but something is lost.
- Beef broth: Low-sodium lets you control the salt; if you have homemade stock, use it and your dish climbs another level entirely.
- Worcestershire sauce: Just a teaspoon brings a salty, slightly funky depth that rounds out the whole dish.
- Fresh rosemary and thyme: These herbs infuse the braising liquid; dried works in a pinch, but fresh sprigs give a cleaner flavor.
- Bay leaves: Remove them before serving—they've done their job and taste bitter if bitten into accidentally.
Tired of Takeout? 🥡
Get 10 meals you can make faster than delivery arrives. Seriously.
One email. No spam. Unsubscribe anytime.
Instructions
- Heat your oven and prep the meat:
- Set your oven to 300°F if braising in the oven, then pat the roast completely dry with paper towels—this helps the sear develop properly. Season all sides generously with salt and pepper, feeling the meat to ensure every surface is covered.
- Flour and sear the roast:
- Dust the beef lightly with flour, tapping off any excess so you get a thin, even coating. Heat your oil and butter in a large heavy pot or Dutch oven over medium-high heat until the butter foams and the pan is smoking slightly, then carefully lay in the roast and let it sit undisturbed for 4–5 minutes—resist the urge to move it, as this builds that deep brown crust.
- Brown all sides and build flavor:
- Flip the roast and brown the other side for another 4–5 minutes, then stand it on its edges to catch those as well. Transfer the finished roast to a clean plate while you build the braising liquid.
- Sauté aromatics and build the base:
- Turn the heat down to medium, add the remaining oil if the pot seems dry, then add your onion wedges and cook until they soften and turn golden at the edges, about 3–4 minutes. Add the smashed garlic and let it get fragrant for about a minute—you'll know it's ready when the kitchen smells unreal.
- Deepen the flavor with tomato paste:
- Stir in the tomato paste and cook it for a full 1–2 minutes, allowing it to darken slightly and caramelize a bit; this step transforms it from raw paste into something rich and complex.
- Deglaze and reduce the wine:
- Pour in your red wine while scraping up all those brown bits stuck to the bottom—that's concentrated flavor you don't want to leave behind. Let it bubble for 2–3 minutes, reducing slightly so some of the alcohol cooks off and the flavors concentrate.
- Add the braising liquid:
- Stir in the beef broth and Worcestershire sauce, then nestle the roast back into the pot, along with any juices that pooled on the plate. The liquid should come about halfway up the meat; if it's way over, you've added too much broth.
- Add herbs and begin braising:
- Tuck in your rosemary, thyme, and bay leaves, then bring everything to a gentle simmer over medium heat. Cover the pot tightly and reduce the heat to low, or transfer to your preheated 300°F oven; either method works beautifully.
- First braise phase (1½ hours):
- Let the roast cook untouched for 1½ hours, then flip it over carefully so the other side gets equal time in the liquid. This ensures even cooking and helps the meat absorb flavor from both angles.
- Add vegetables and final braise:
- Arrange your carrots, celery, and potatoes around the roast, nestling them into the liquid so they're mostly submerged. Re-cover and cook for another 1½–2 hours until the beef is almost falling apart when you touch it with a spoon and the vegetables are completely soft but still holding their shape.
- Rest and prepare for serving:
- Transfer the roast and vegetables to a platter and tent loosely with foil while you finish the gravy. Skim any excess fat from the surface of the liquid using a ladle or spoon.
- Thicken the gravy (optional but worth it):
- If you like a thicker sauce, bring the braising liquid to a simmer and stir in a cornstarch slurry (cornstarch mixed with cold water); it should thicken noticeably within 2–3 minutes. Taste and thin with extra broth if it gets too thick.
- Final assembly and garnish:
- Remove the herb stems and bay leaves, then shred the beef into large, rustic chunks or slice it against the grain for neater pieces. Return everything to the pot or arrange it on a platter, spoon that beautiful sauce over top, and scatter fresh parsley if you have it.
 Save to Pinterest
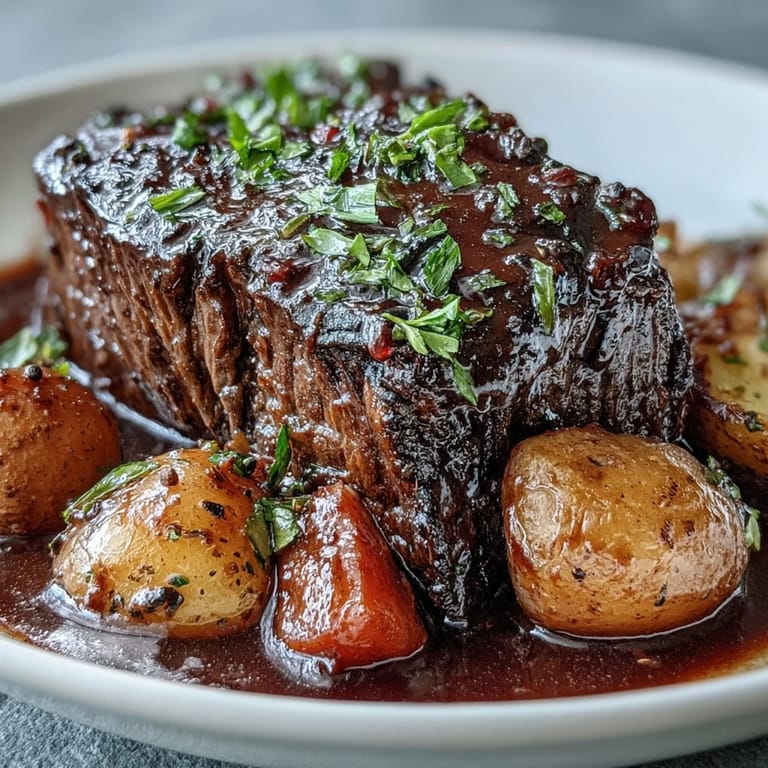
 My neighbor once asked why I made pot roast in August when it's a cold-weather dish, and I realized I'd been thinking about it wrong the whole time. I made it for her anyway, and we ate it at her kitchen table in the late afternoon light with cold beer instead of wine, and it felt completely right. Food isn't about seasons so much as it's about needing something that tastes like home, whenever that feeling arrives.
Why This Takes Three Hours and Why That's Actually Perfect
The long, slow braise is what transforms a tough cut of beef into something tender—the low heat breaks down collagen into gelatin, which is what gives you that silky mouthfeel and rich gravy. It's also the reason you can walk away: set a timer, check it once halfway through, and spend those three hours doing something else entirely. I usually start this in the morning, let it go while I work, and dinner practically makes itself.
Slow Cooker Method If You're Playing It Safe
After you sear the roast and sauté your aromatics, you can pour everything—meat, vegetables, liquid, and all—into a slow cooker and let it handle the rest. Cook it on low for 8–10 hours or high for 5–6 hours, adding the carrots, celery, and potatoes about halfway through if you want them firmer; if you don't mind softer vegetables, throw them in from the start. The trade-off is that you lose the precision of oven control, but you gain the convenience of stepping away completely.
Making It Taste Like Something You'll Remember
Browning the meat properly is non-negotiable—it's where about seventy percent of the flavor comes from, so take your time and let it actually sear instead of steam. Use homemade stock if you have it; the difference between store-bought broth and real stock is noticeable and worth planning ahead for. Taste the gravy at the end and adjust seasoning, because you may need a pinch more salt than the recipe calls for.
- Always taste before serving, as salt levels vary depending on your broth brand and how much liquid evaporates during cooking.
- If the gravy tastes flat even after seasoning, a splash of red wine or a teaspoon of balsamic vinegar wakes it up instantly.
- Leftovers genuinely taste better the next day after the flavors have settled, so make extra without guilt.
 Save to Pinterest
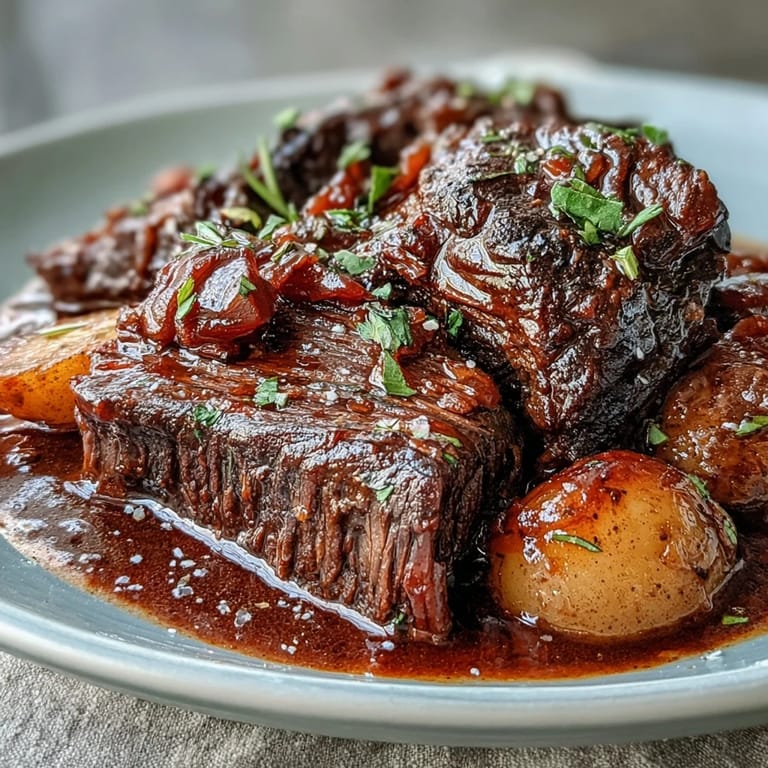
 This is the kind of dish that makes a house feel lived-in and cared for, where everyone who walks through the door stops and asks what you're making. Serve it with crusty bread, buttered noodles, or mashed potatoes, and watch it disappear.
Recipe FAQs
- → What cut of beef works best?
Chuck roast or blade roast with good marbling delivers the most tender results. The connective tissue breaks down during slow cooking, creating succulent, fork-tender meat.
- → Can I make this in a slow cooker?
Yes. After searing the beef and sautéing the aromatics, transfer everything to your slow cooker. Cook on low for 8–10 hours or high for 5–6 hours, adding vegetables halfway through cooking.
- → Why is tomato paste included?
Tomato paste adds depth and richness to the braising liquid. Cooking it briefly with the onions caramelizes its natural sugars, enhancing the overall flavor profile of the gravy.
- → How do I get thicker gravy?
Simmer the cooking liquid after removing the beef and vegetables, then whisk in a cornstarch slurry. Cook for 2–3 minutes until the sauce reaches your desired consistency.
- → What sides pair well?
Crusty bread, buttered noodles, or mashed potatoes perfectly soak up the rich gravy. The dish is substantial enough to stand alone with the vegetables already included.